Keeping Relevant and Expanding Visibility
Geotagging Photos for nearby locations
Step 1: Select Photos
Make sure to use photos that you never uploaded to Google Business Profile before.
Step 2: Search for location data in Google Maps
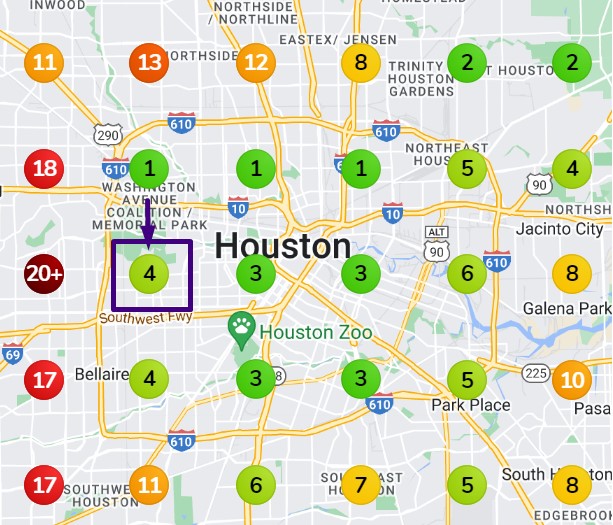
If you are using geogrid search, the good practice would be moving from away from #1 location to the one next to it that ranks lower:

Use that area to select a local business withing a few miles of this location.
Step 3: Get Geocoordinates
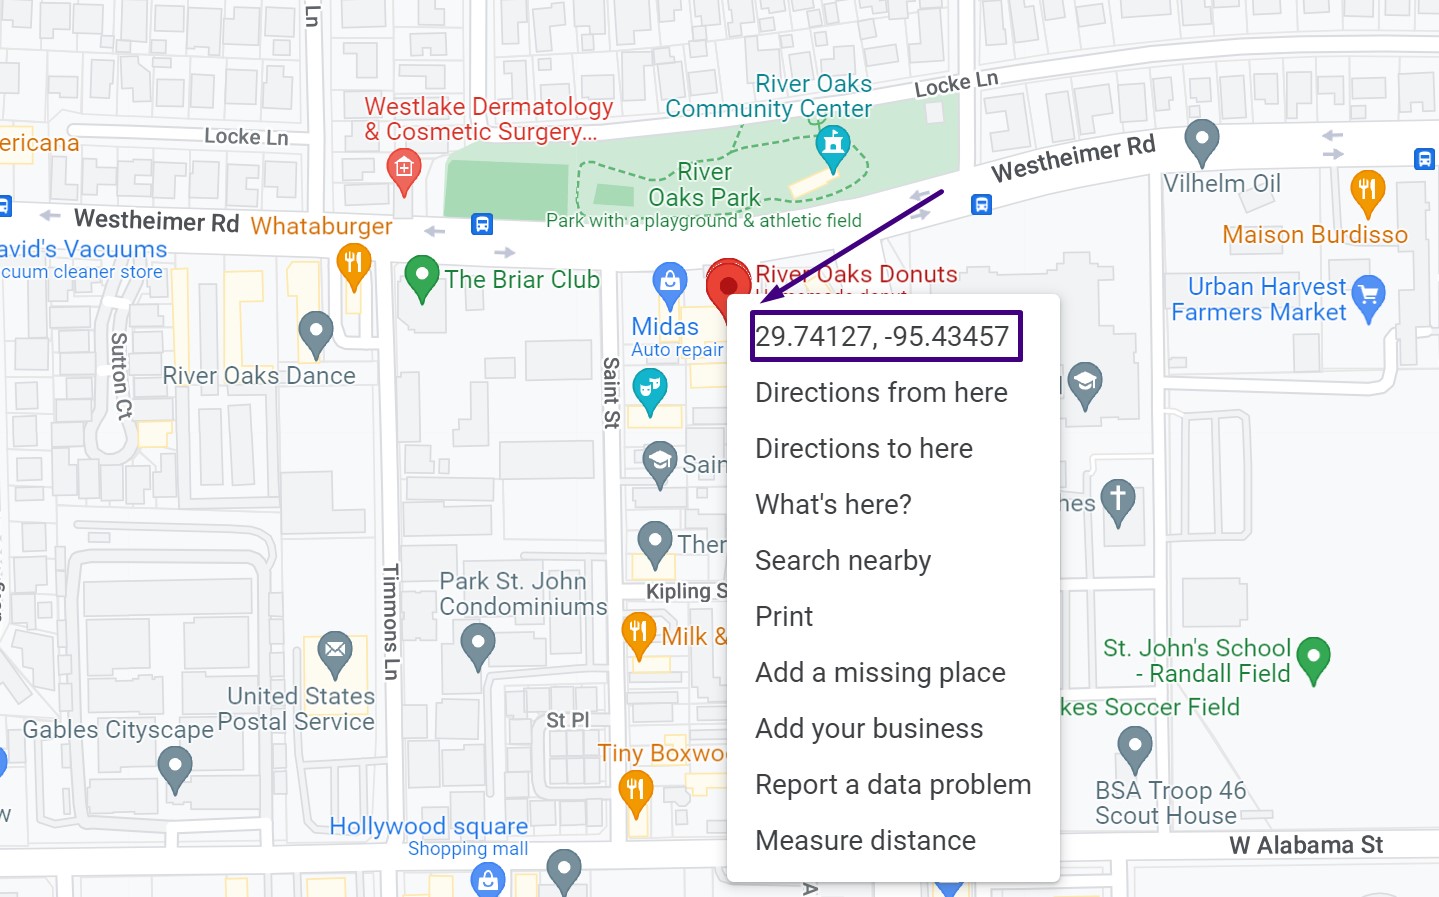
Right click the location pin to see the coordinates and copy longitude and latitude:

Step 4: Open Geoimgr tool and Upload your Image
Go to https://tool.geoimgr.com/. Upload your first image.
Step 5: Past your Geo Coordinates
Past you previously copied Geo Coordinates:

Then click Write the EXIF tags button:

Step 6: Download the image
Click Download button

Step 7: Upload Your Image
Upload the image to Google Business Listing.
Repeat this process for all the images you are uploading.
To keep relevant I recommend going through this process on a weekly basis and uploading 10 new geotagged images with different locations each week. You can do the same process with your posts and products and geotag images for those as nearby locations.
If you have many SKUs in your store, adding around 10 products to your Google Business Profile each week will keep your business relevant and updated and will improve your visibility.