Getting Started in you don’t have a website
It is highly recommended to have a website or a landing page to use on your Google Business Profile to improve your visibility. Below are the simple steps of how to sign up for the website hosting and register your domain name.
Step 1 — Choose a hosting plan
I work with one of the top 3 leading hosting providers in the US for many years now and highly recommend DreamHost. It offers several hosting plans:
- Shared Starter (without email hosting) or Shared Unlimited (with free email hosting)
This is the cheapest plan that is affordable for anyone and a great option to start.
- DreamPress
This is more expensive plan that works great for WordPress websites and provides more perks for SEO and speed optimization. It is also a preferred plan for ecommerce stores.
After you’ve decided on the plan, click the Sign Up Now button under it to proceed with account creation.
Step 2 — Create a new account
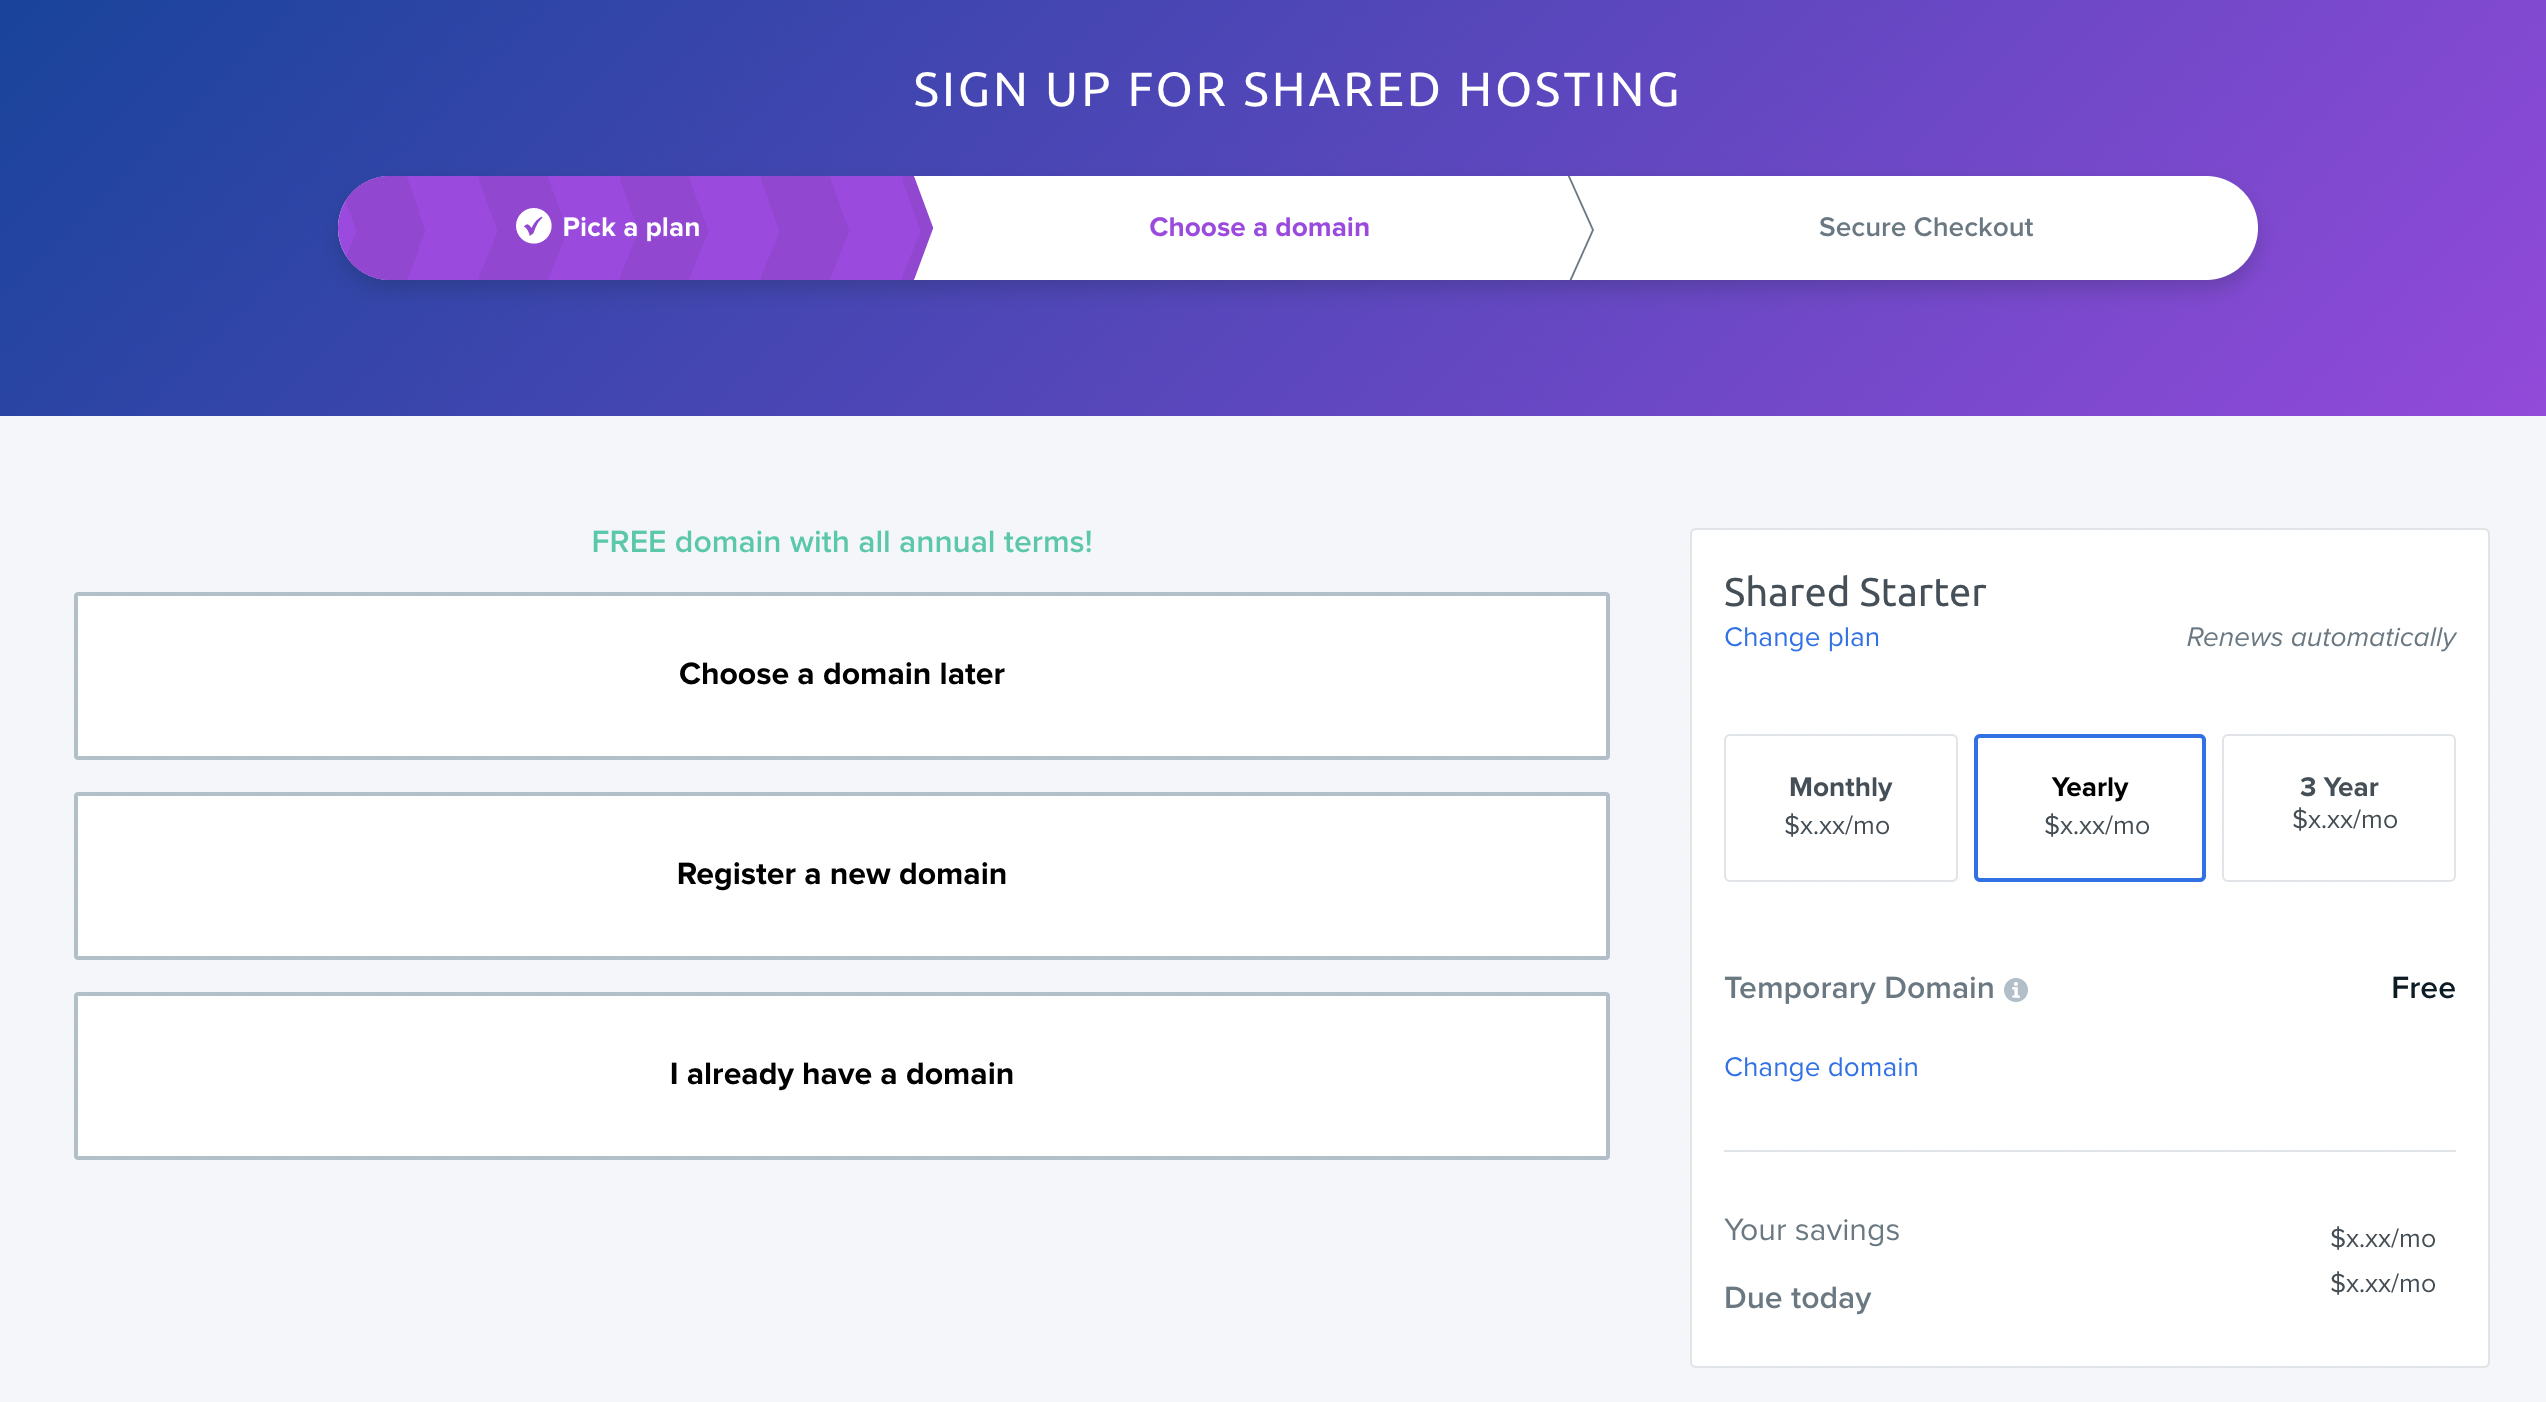
After you’ve selected a plan you can proceed with creating your account. The steps are generally the same for all hosting plans, however, an example of Shared Starter hosting is shown below for clarity.
Adding a Shared Hosting account
- When you’ve decided on the plan you’d like to purchase, click the button under it to proceed. Here you can register a domain for your new website. Click Register a New Domain.
- If you are a plumbing company in Denver under the name Smith Denver Plumbing, domain smithdenverplumbing.com will work great for your local visibility.
- If you are a law firm in Houston under the name Telly Houston Lawyers, domain tellyhoustonlawyers.com will be perfect.
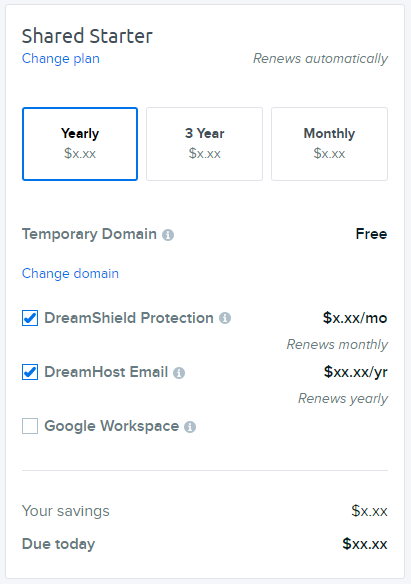
- To the right, select the payment plan and your desired add-ons.
- Choose to pay with a credit/debit card or PayPal. If you select PayPal, you’re taken to its site to complete the purchase.
- Enter an email address. This will be the primary email you use to log into your DreamHost panel. You can also sign up using Google. This allows you to use your Google email address to log in without using a password.
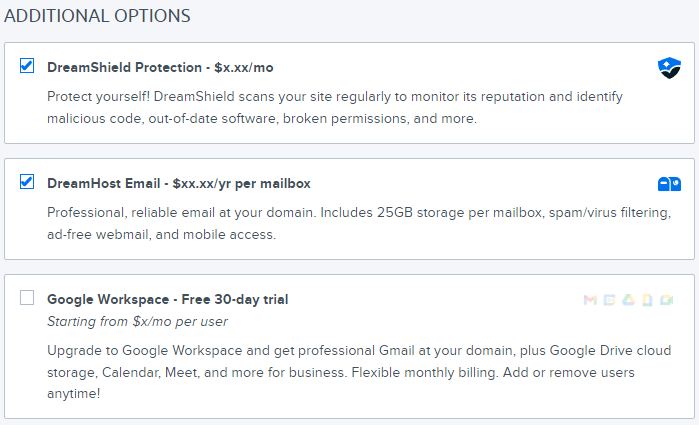
- Select additional options that appear towards the bottom:
- Pre-Install WordPress: Check this to automatically install WordPress on your new domain.
- DreamShield Protection: This is a paid add-on that will scan your site for malicious software weekly. You don’t need this in most cases, so keep it unchecked.
- DreamHost SEO Toolkit: This is a paid add-on that helps you to optimize your website for SEO. You may not need this in most cases, so keep it unchecked.
- DreamHost Email: This displays for Shared Starter plans only. It allows you to add a paid email plan to your website hosting plan. You don’t need this because the plans I recommend have the email included, so keep it unchecked.
- Google Workspace: Adds Google Workspace to your domain. Most don’t use this, so keep it unchecked.
- When finished, click the Submit Order button at the bottom of the page.

- After you login to your account you will be able to access your WordPress website and manage it.
Having keywords like you primary category or location in the domain name you choose will increase your visibility in local search and Google Business Profile.


